 Hello !Welcome to Abid Cg creator blog .
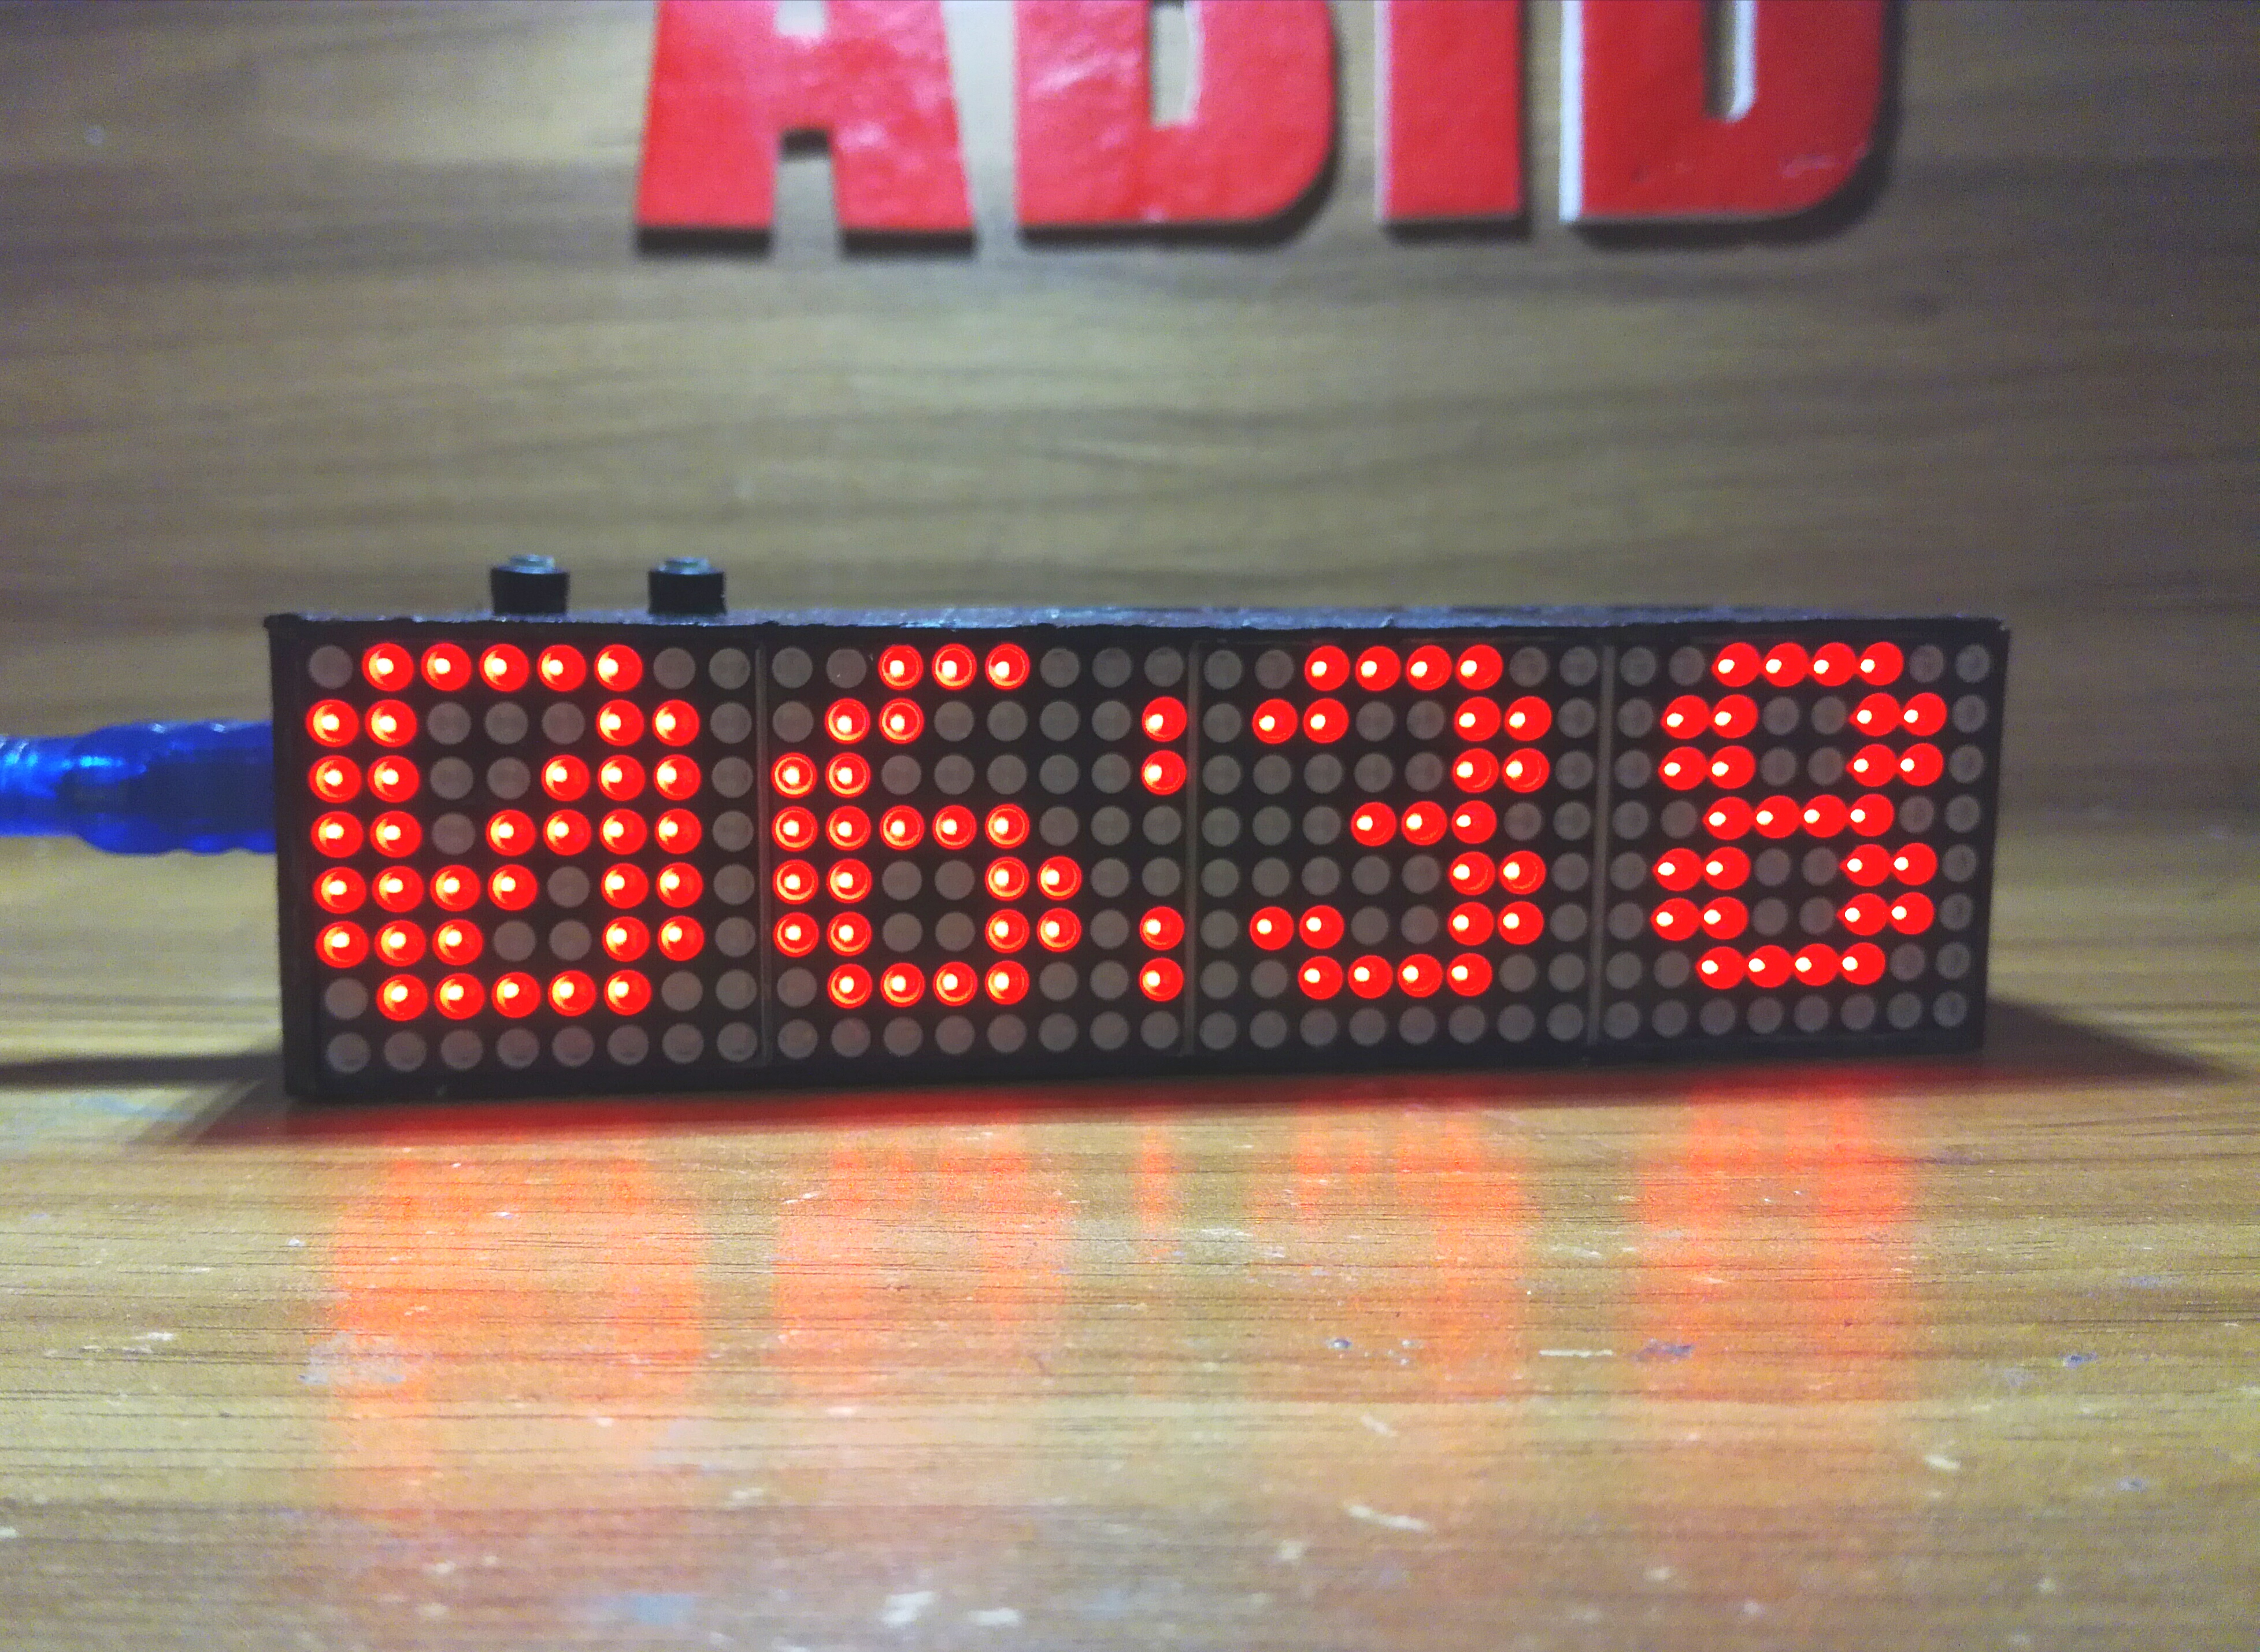
Here is a short tutorial on How To Make An Led Matrix Clock.Basically it uses the Real Time Clock Module Ds3231 and prints time in led display.
I am not the creator of the whole code.All credit goes to Petan
His GitHub link is Here .
If you tend to make this awesome clock,let's get started now.
Parts needed:
Hello !Welcome to Abid Cg creator blog .
Here is a short tutorial on How To Make An Led Matrix Clock.Basically it uses the Real Time Clock Module Ds3231 and prints time in led display.
I am not the creator of the whole code.All credit goes to Petan
His GitHub link is Here .
If you tend to make this awesome clock,let's get started now.
Parts needed:
- Arduino UNO or Nano
- 4 Max7219 matrix display.
- RTC ds3231
- Two Buttons
- Soldering Tools
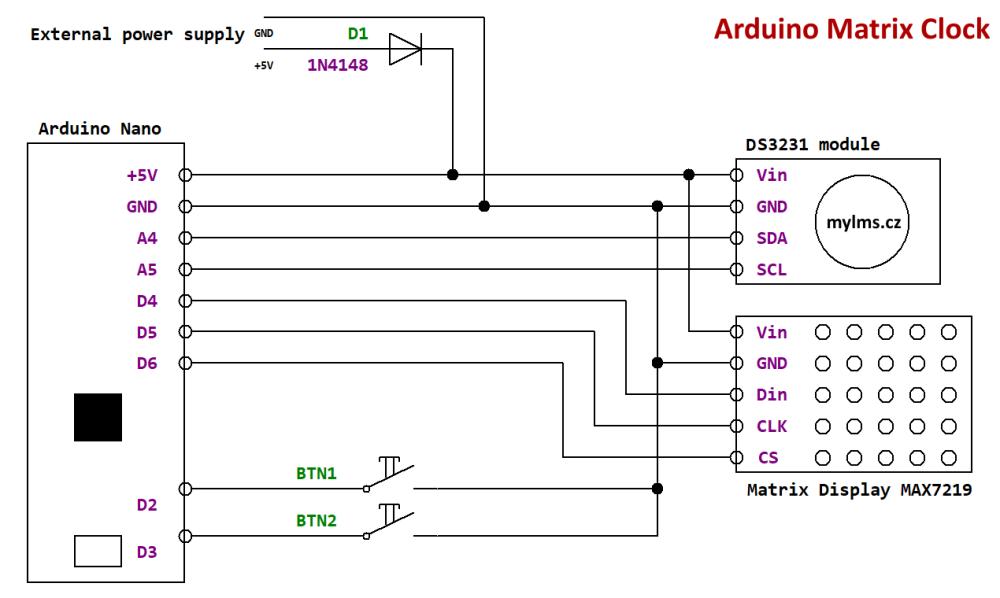 courtesy www.mylms.cz
Code of the project click here
Important Notes : Please download the LedControl library from this link
Hold Two Buttons together for time setting. Use one button for increment and another to Set. Use a good power supply. Here is some pictures of my clock.
 Matrix connection.Vcc And Gnd is connected in other side.
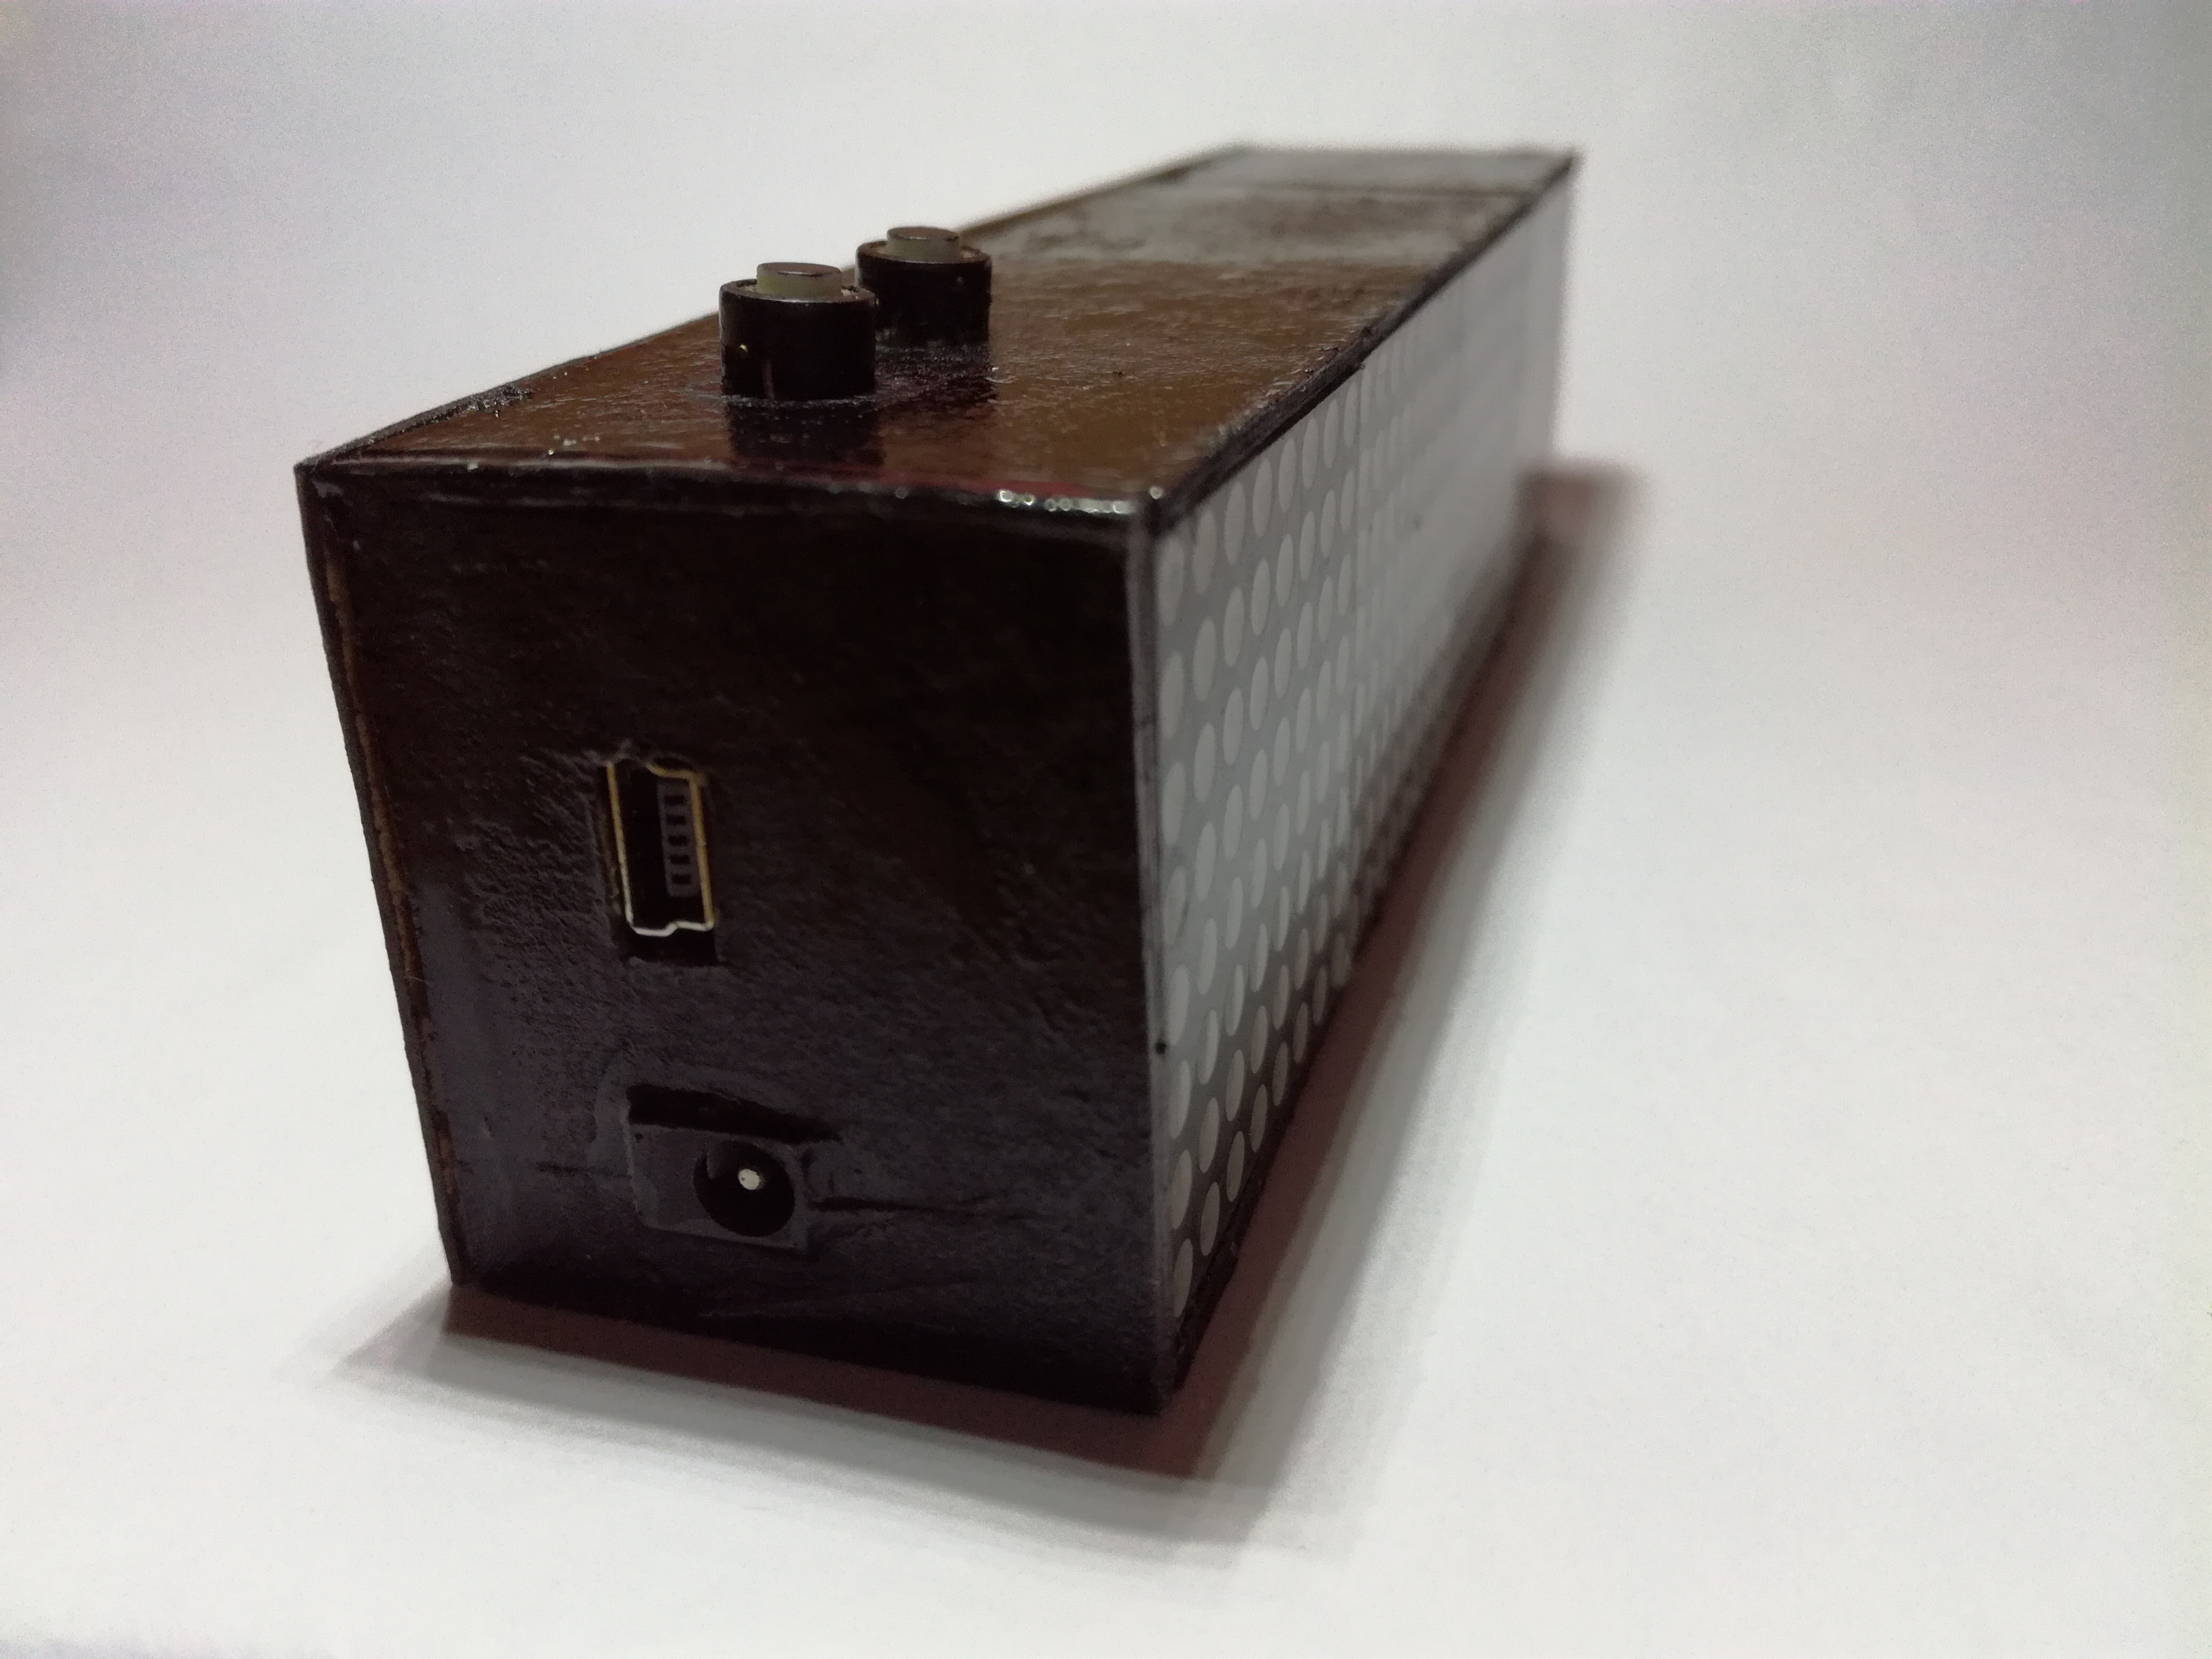
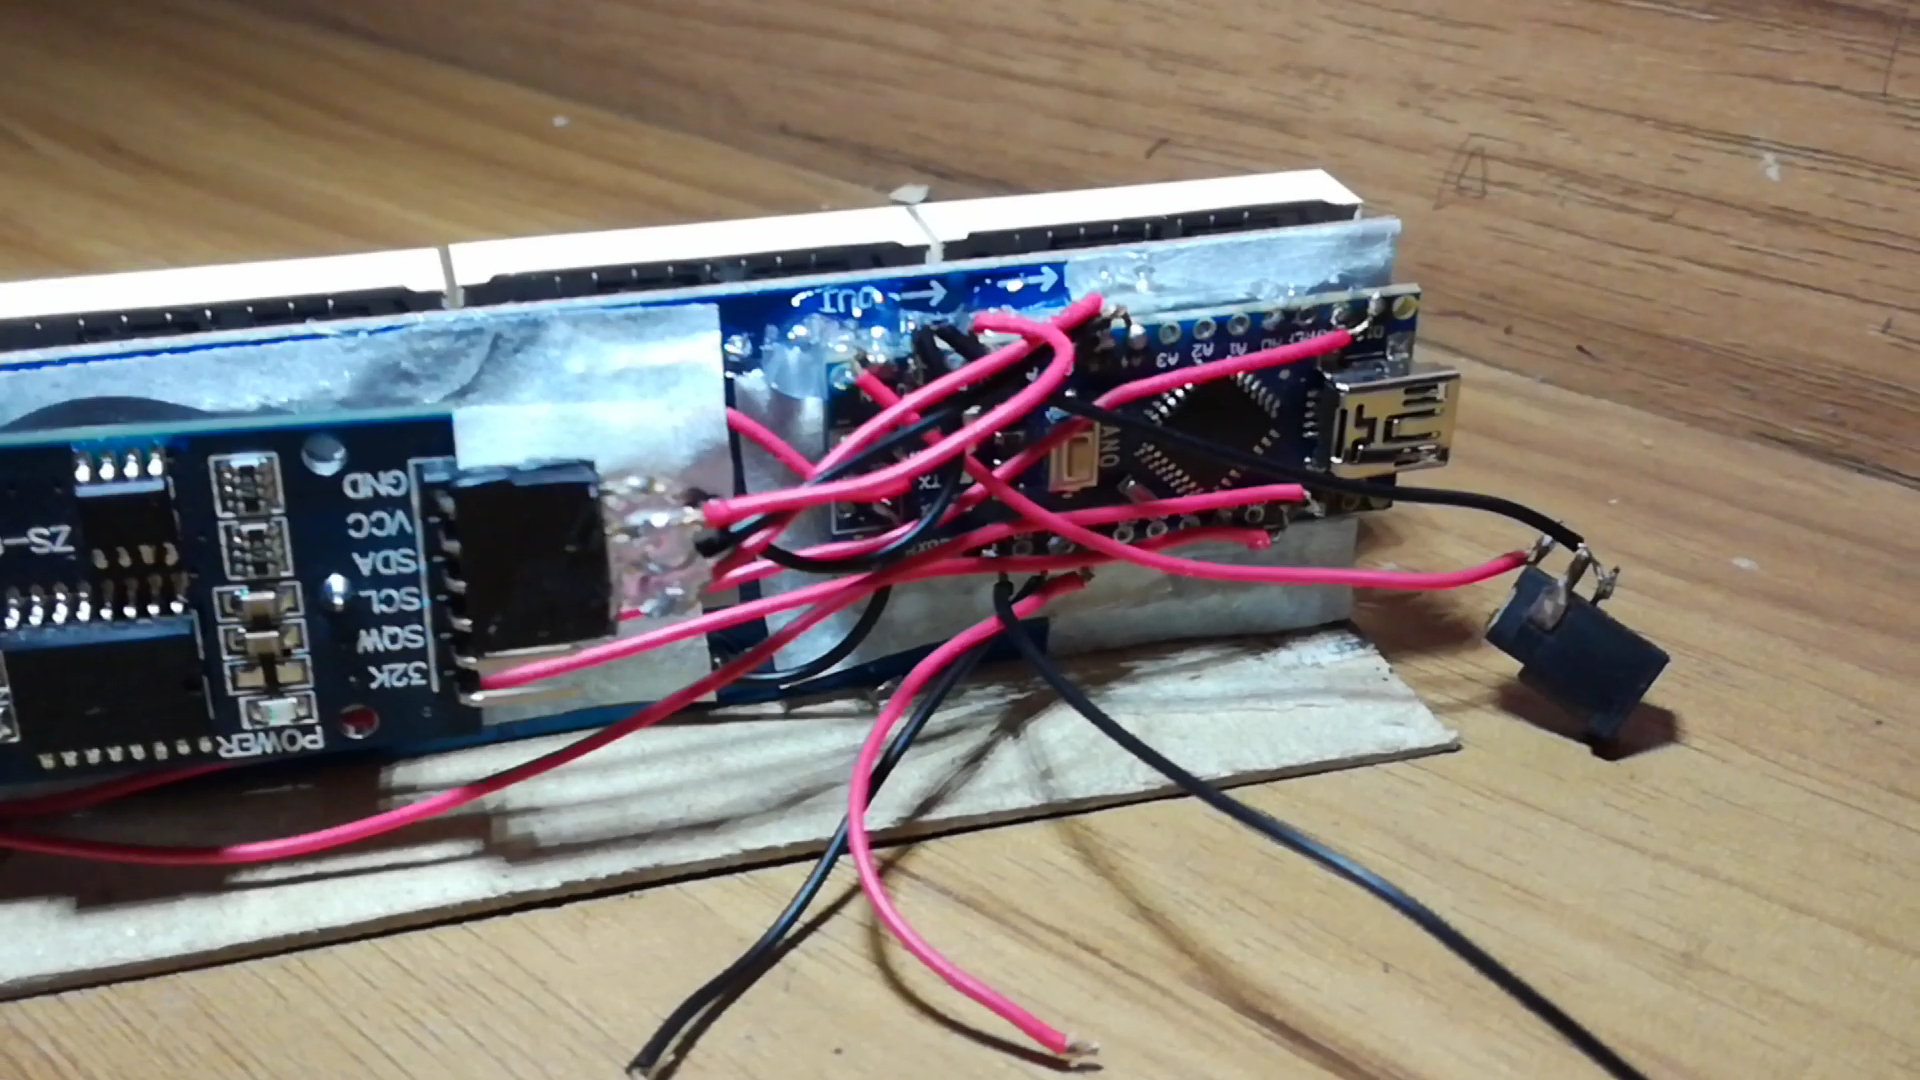 DC jack for 7-9v supply.
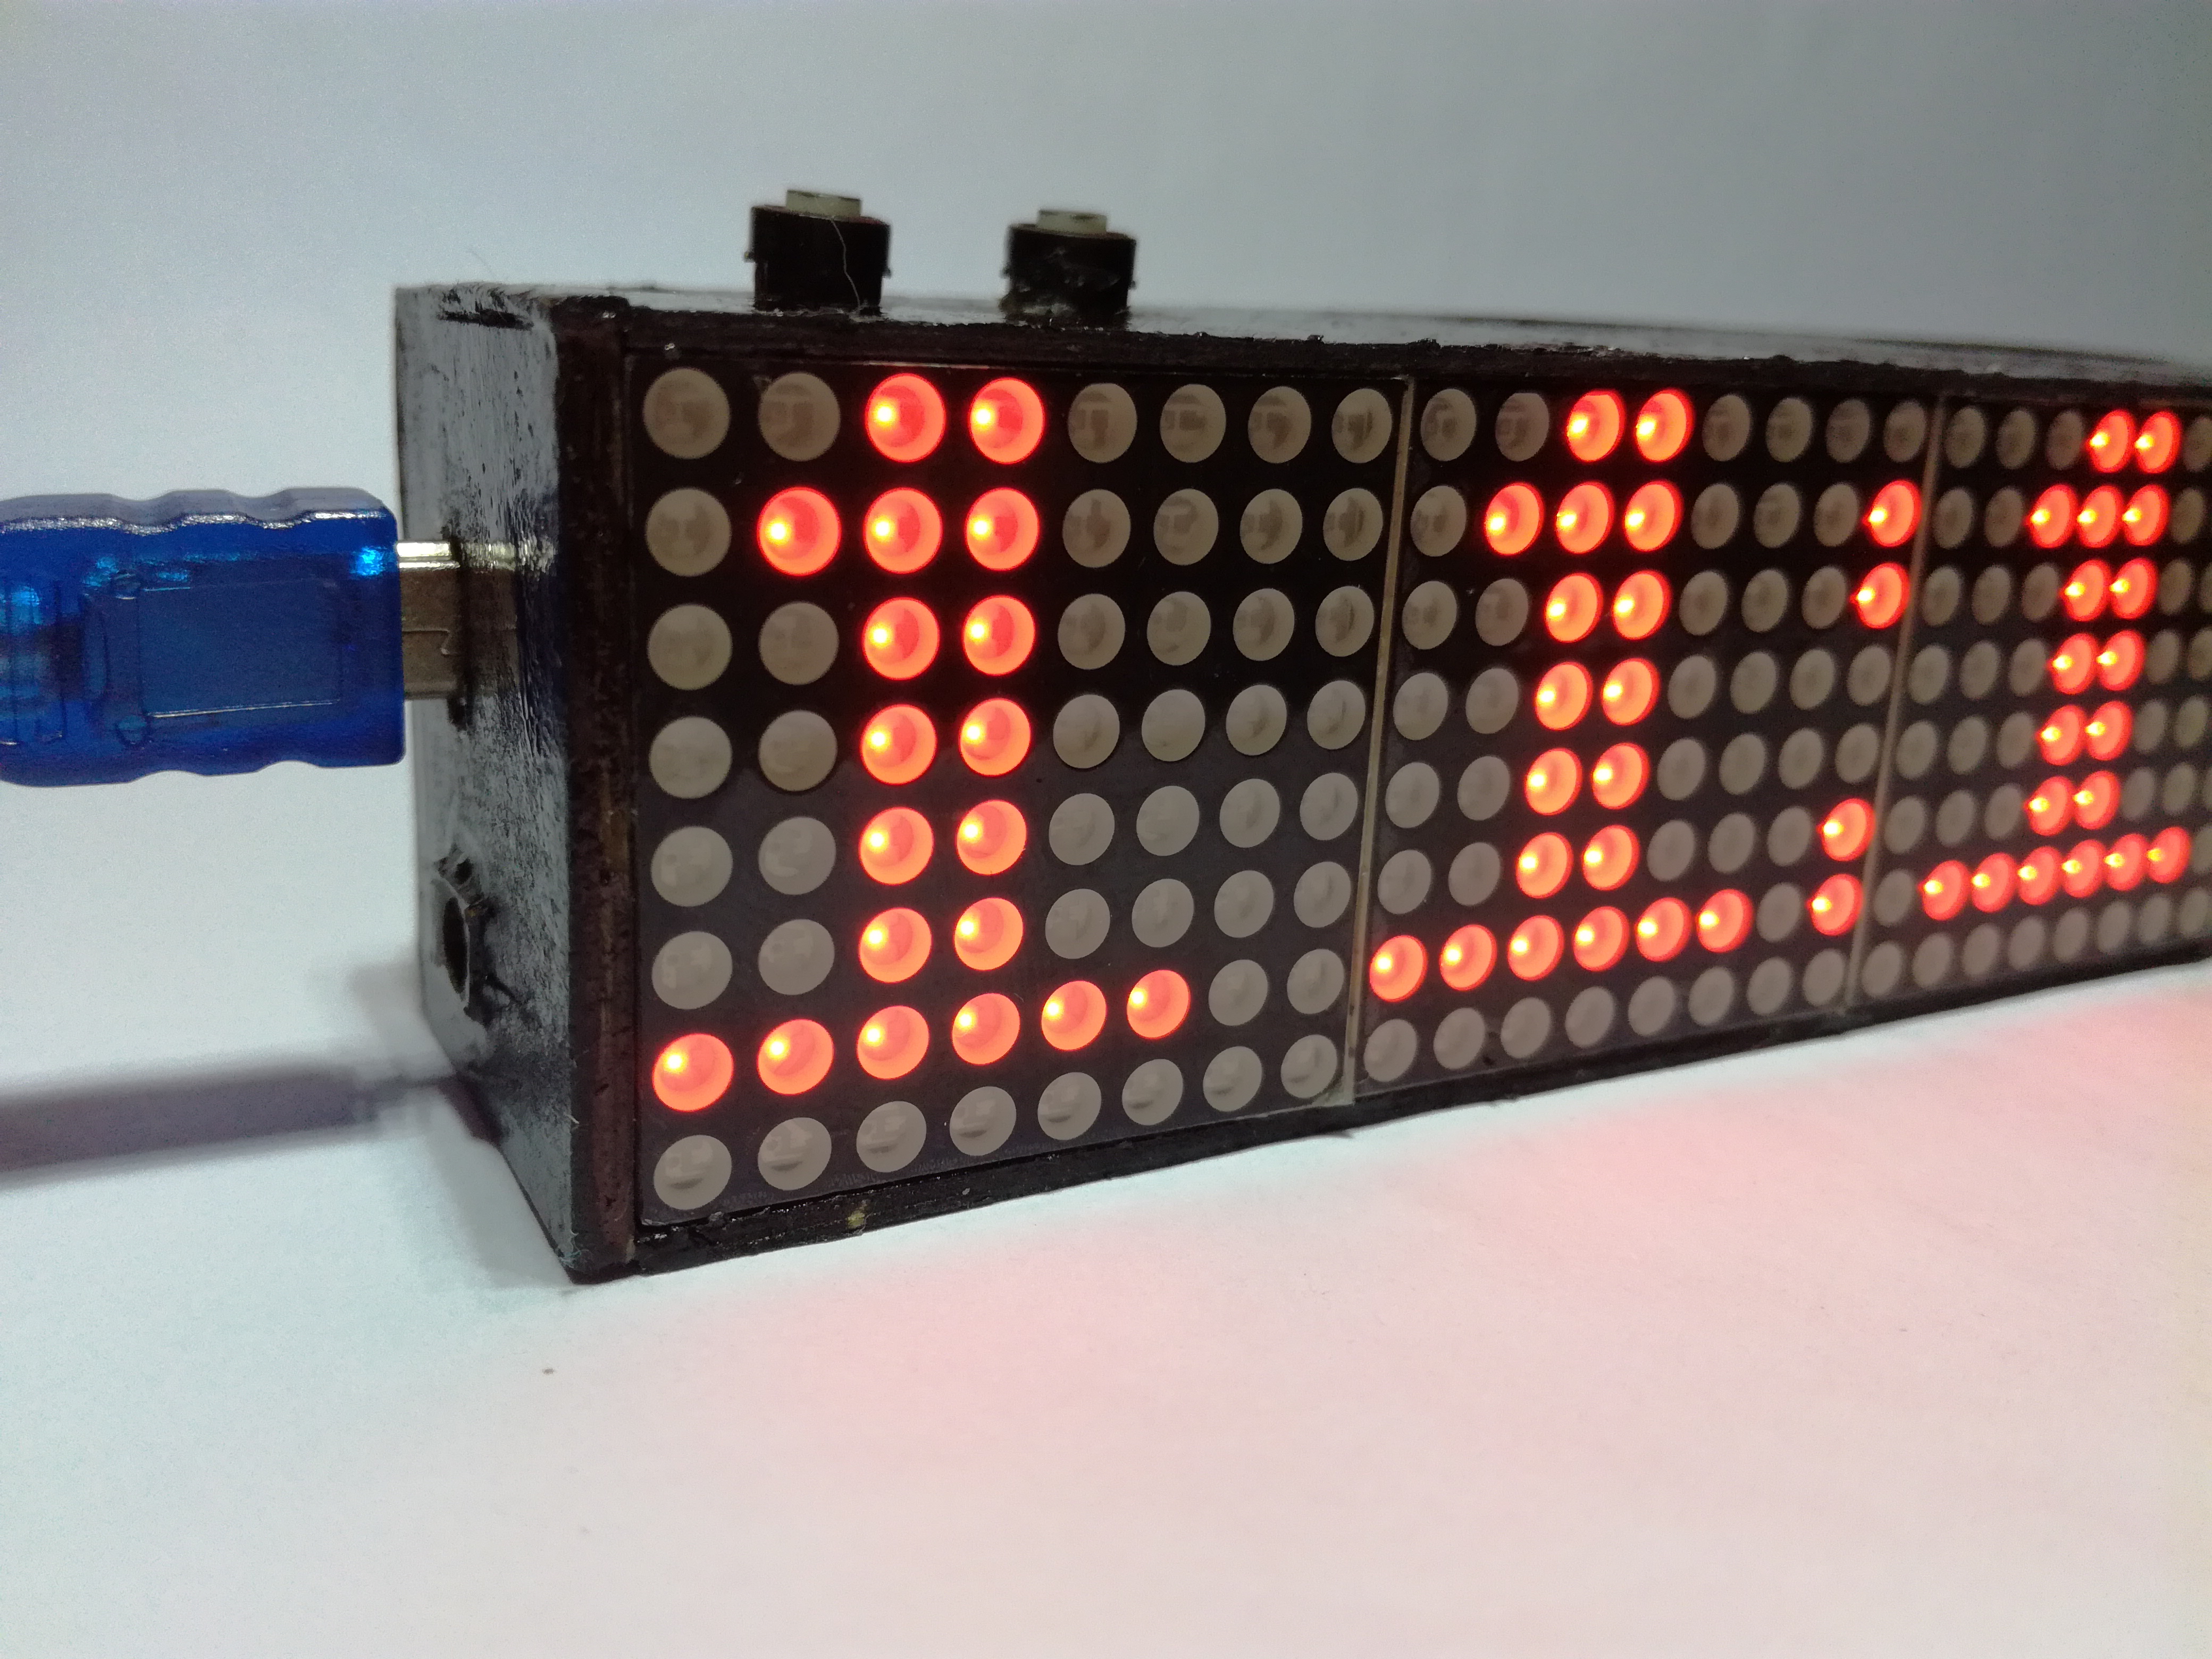 Enclosed with plywood.Holes for DC jack and Usb connection.
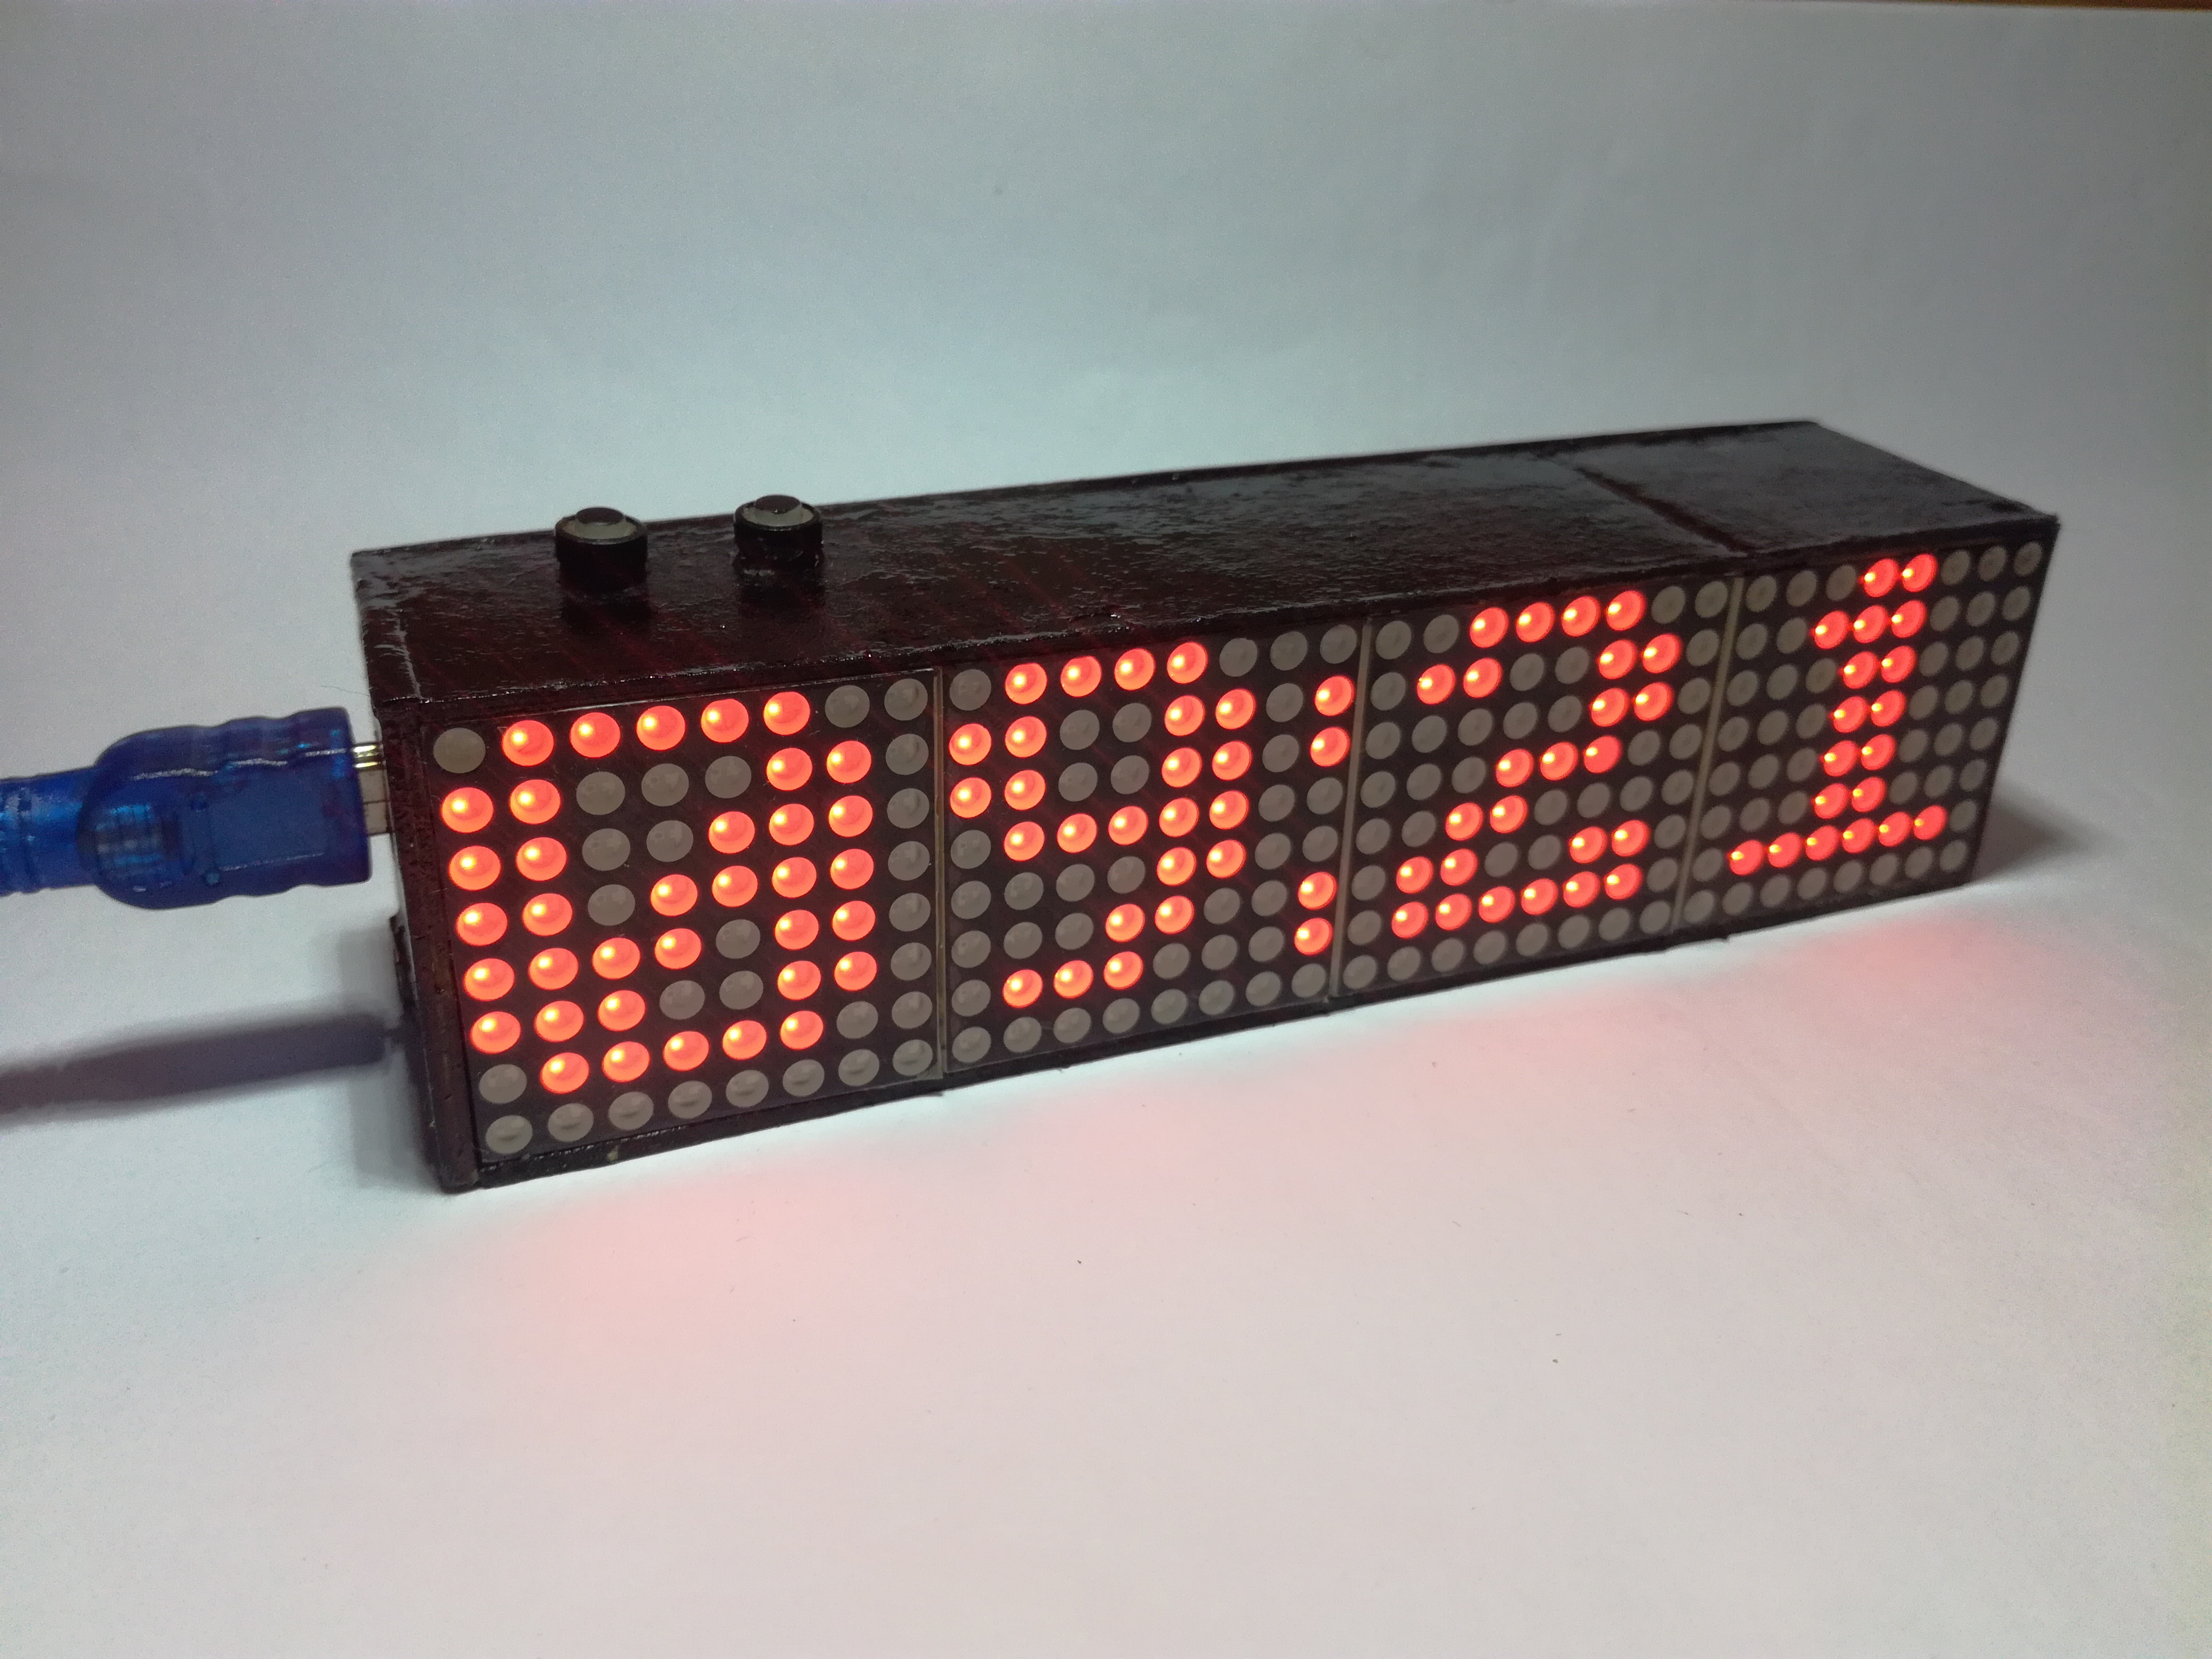 Two Buttons To Rule Them All !
 If you want to see more Arduino Projects Please Visit My YouTube Channel
How To Make A Smart Watch With Arduino
If you want to see more Arduino Projects Please Visit My YouTube Channel
How To Make A Smart Watch With Arduino
display not serial
ReplyDeleteNice😍😍
ReplyDeleteThis comment has been removed by the author.
ReplyDeleteI would like to know how to replace the Buttons with IR Remote Control (NEC Protocol); Thanks
ReplyDeletehallo after uploading im recieving "hr"cannot be used as a function what could i be doing wrong
ReplyDeleteHi!
DeleteThere is no such "hr" function in the code. You may have accidentally changed the code. So, download it again and compile it.
I was able to build this project using the info you provided. Thanks! Buttons and display work great. Looking at the code, the Serial input is used also to set the rtc components. Question: Are you able to provide details on the Serial input logic and use? I guessed that E22 would change the time to minutes=22. But that is not the what occurred. Thanks again!
ReplyDeleteI was too hasty...I followed your blog and found that the clock code I used is NOT the latest version - I found v5 and I may have installed v1 or 2. I will test v5 out. Thanks!!
DeleteVery cool! Now with IR Remote Control!
ReplyDeleteI will test it! Thanks
hola
ReplyDeletehe tratado de descargar el codigo por medio del enlace de google drive pero no me permite
me facilitarias el codigo por favor
mi correo : maicolarizax@gmail.com
no Code in Link please share me on my mail
ReplyDeleteCan u include the temperature disply to this project?
ReplyDeleteadd ds1820 temperature please
ReplyDeletethanks for the project. but it doesn't work for me, everything in reverse shows the hours to the right
ReplyDeleteCode ??
ReplyDelete